CHAPTER 25
Eclipse Integration
Julian provides an Eclipsed-based IDE experience, Julian Development Environment (JuDE), that can work seamlessly with Java Development Tools (JDT). This chapter walks through the steps to install the feature into Eclipse and covers some basic usage. This plugin, like the language itself, is an evolving product and is undergoing continuous changes and improvements. The tutorial may not cover all the details up to date.
Install the plugin from Eclipse
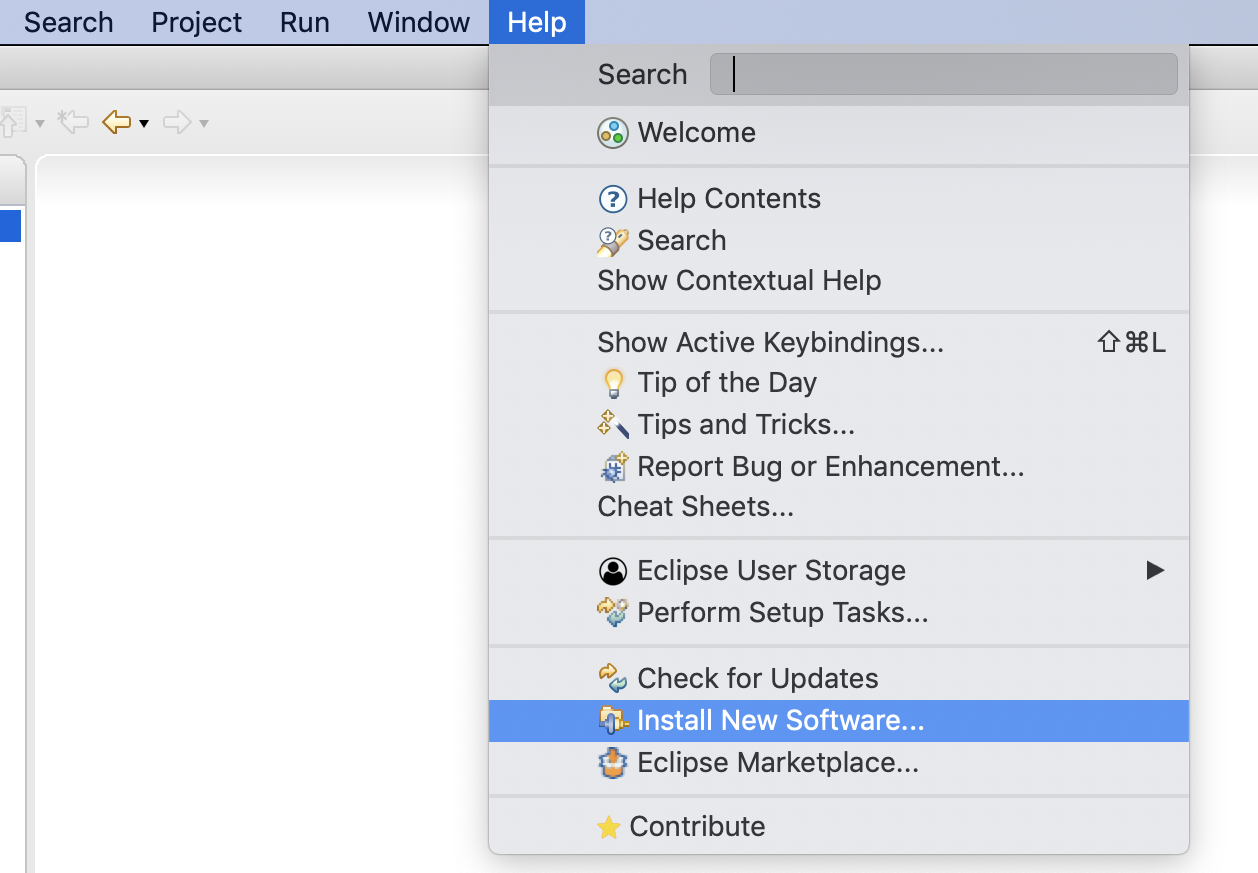
Go to Help → Install New Software...:
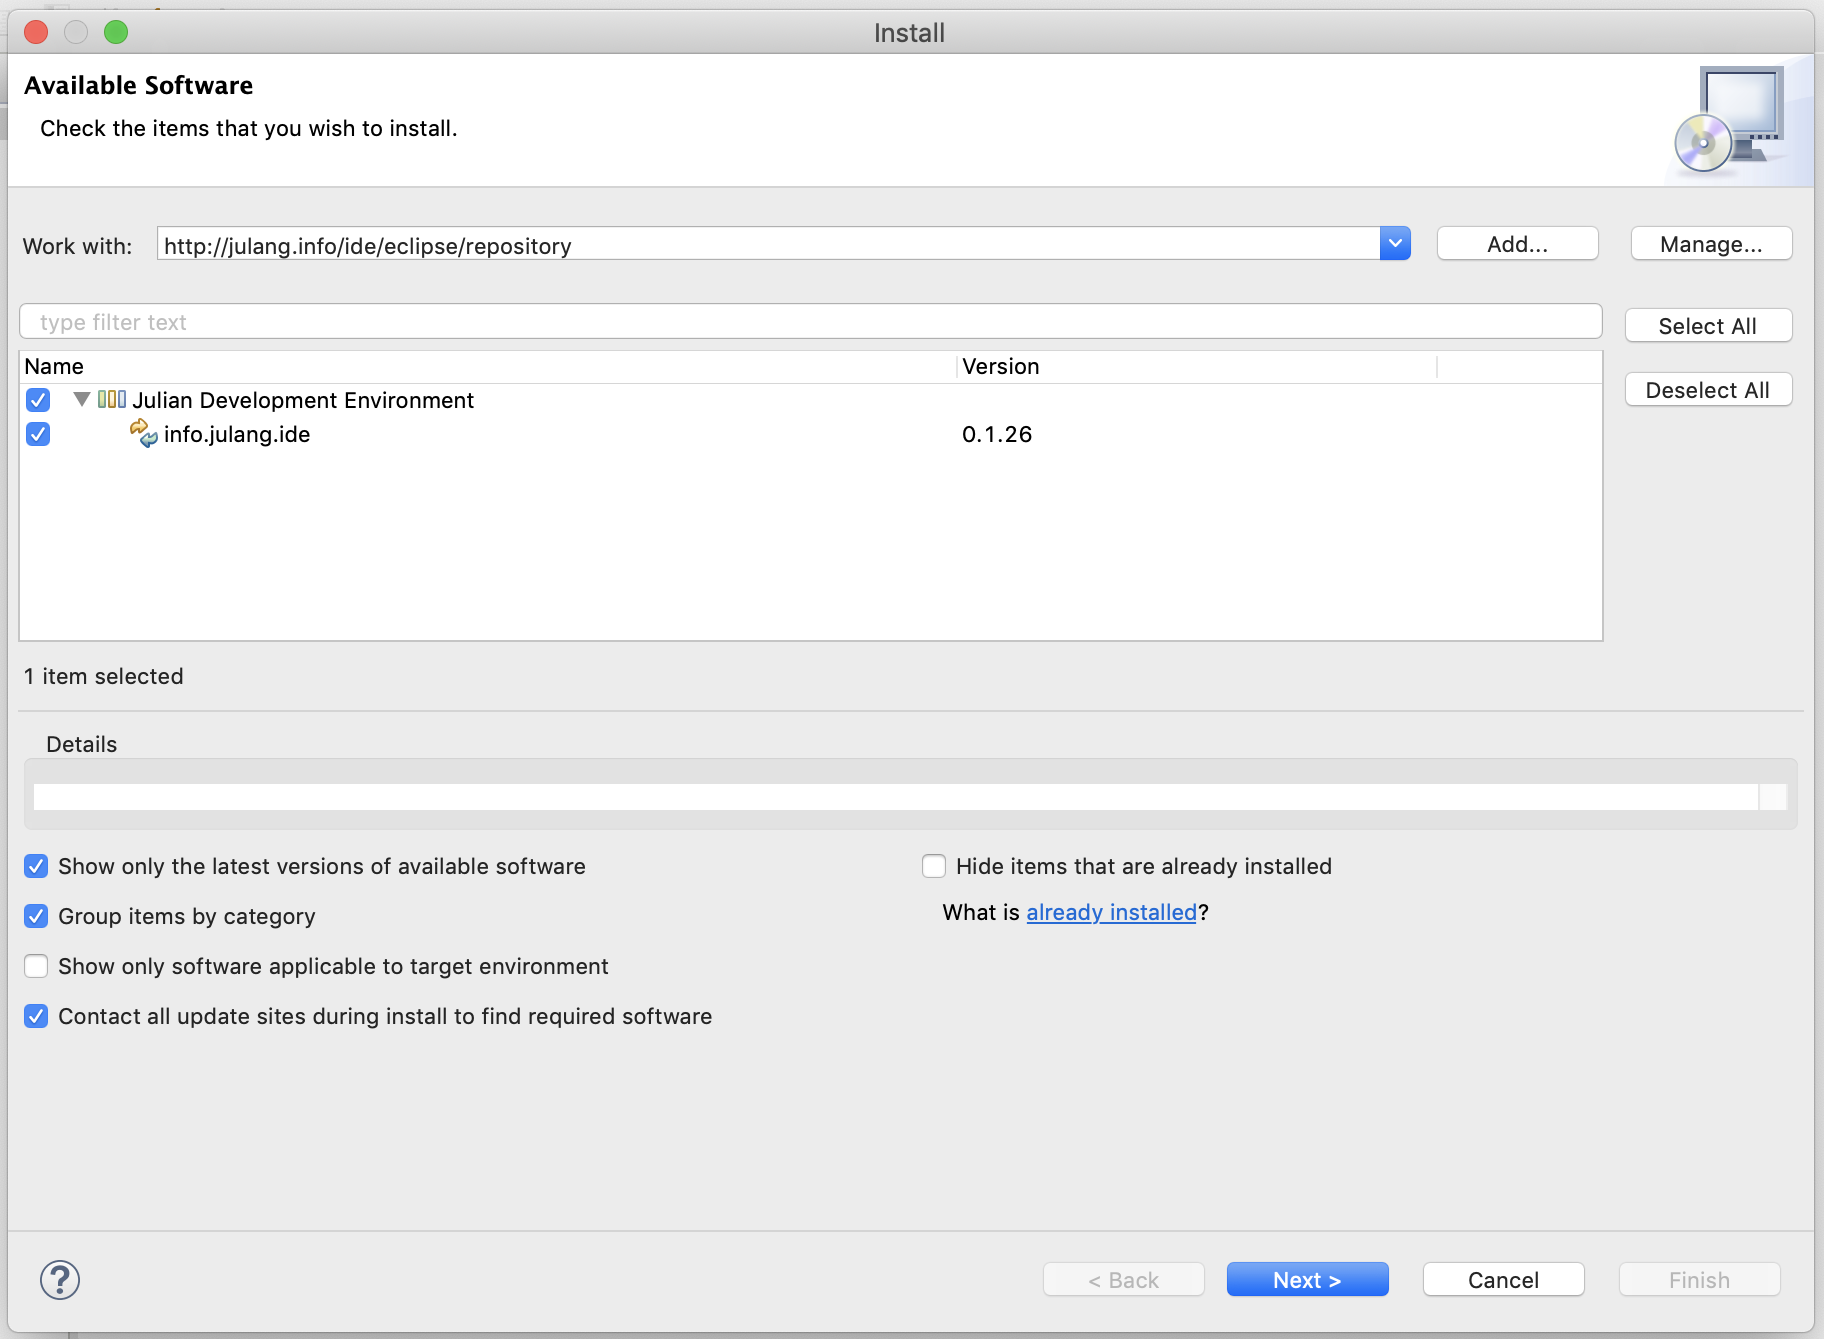
Copy https://julang.info/ide/eclipse/repository into the URL box and press Enter. Choose the feature of Julian Development Environment and all of the plugins underneath, then proceed to Next >:
It may warn you about the plugin being unsigned. Ignore the warning and complete the installation. A restart of Eclipse is required afterwards.
Enable Julian feature
In most cases, a developer would want to develop Julian alongside Java, so it's most natural to add the Julian capability to a Java project. To do so, right click on your Java project from the package explorer, and choose Enable Julian Support from the menu:

As an aside, you may disable Julian support any time after you enabled it. Just open the same pop-up menu and you will find Disable Julian Support button instead.
By now your project is able to handle both Java and Julian source files. Let's try to add a new script file first. You can do this either under a Java package or a regular folder. For the sake of demonstration, we now create a folder to hold the script files.
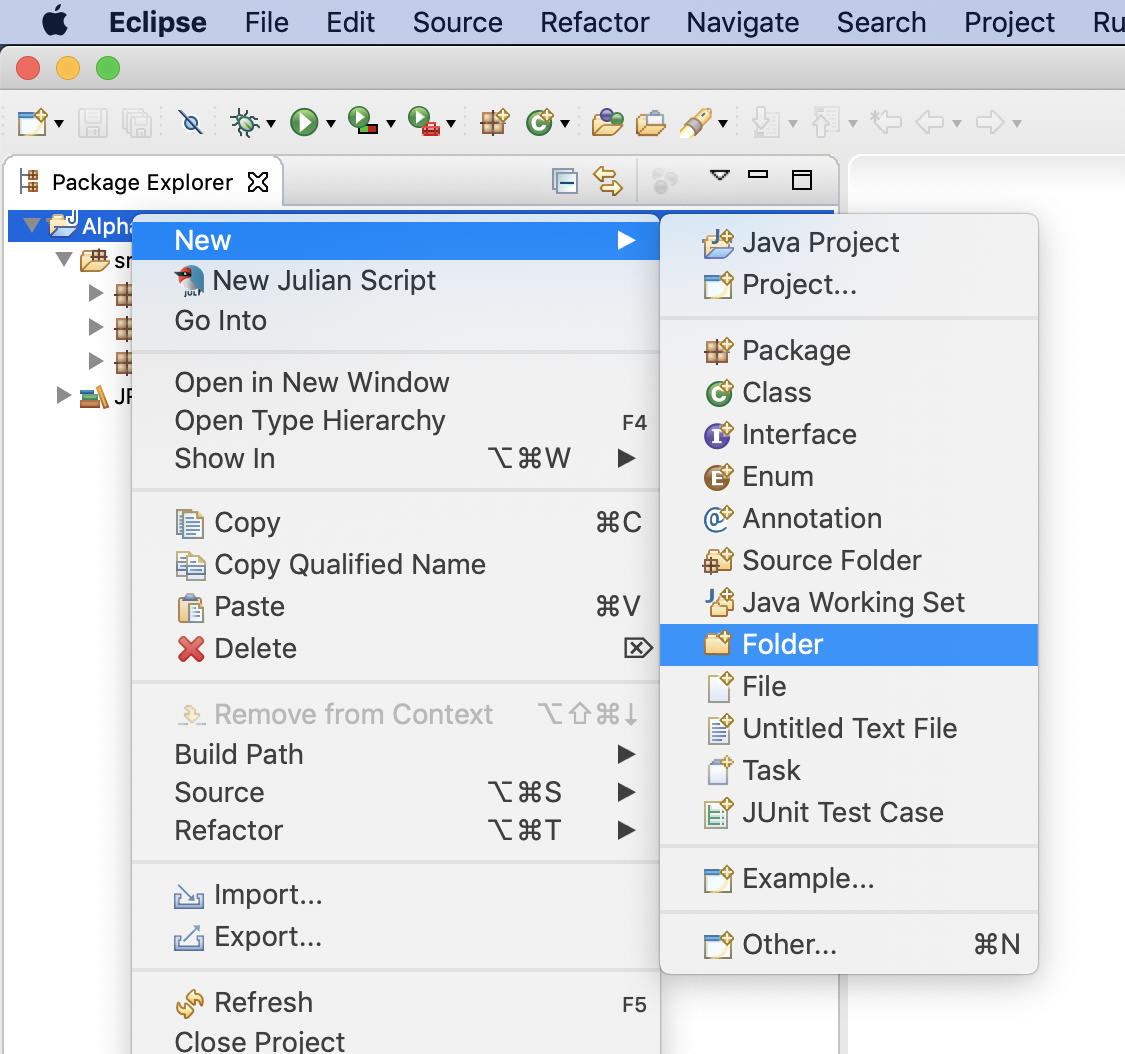
Right click on the folder icon from the package explorer and you will be able to create New Julian Script:

There are a few fields to be filled out, depending on whether you want to make a loose script or a modularized one.
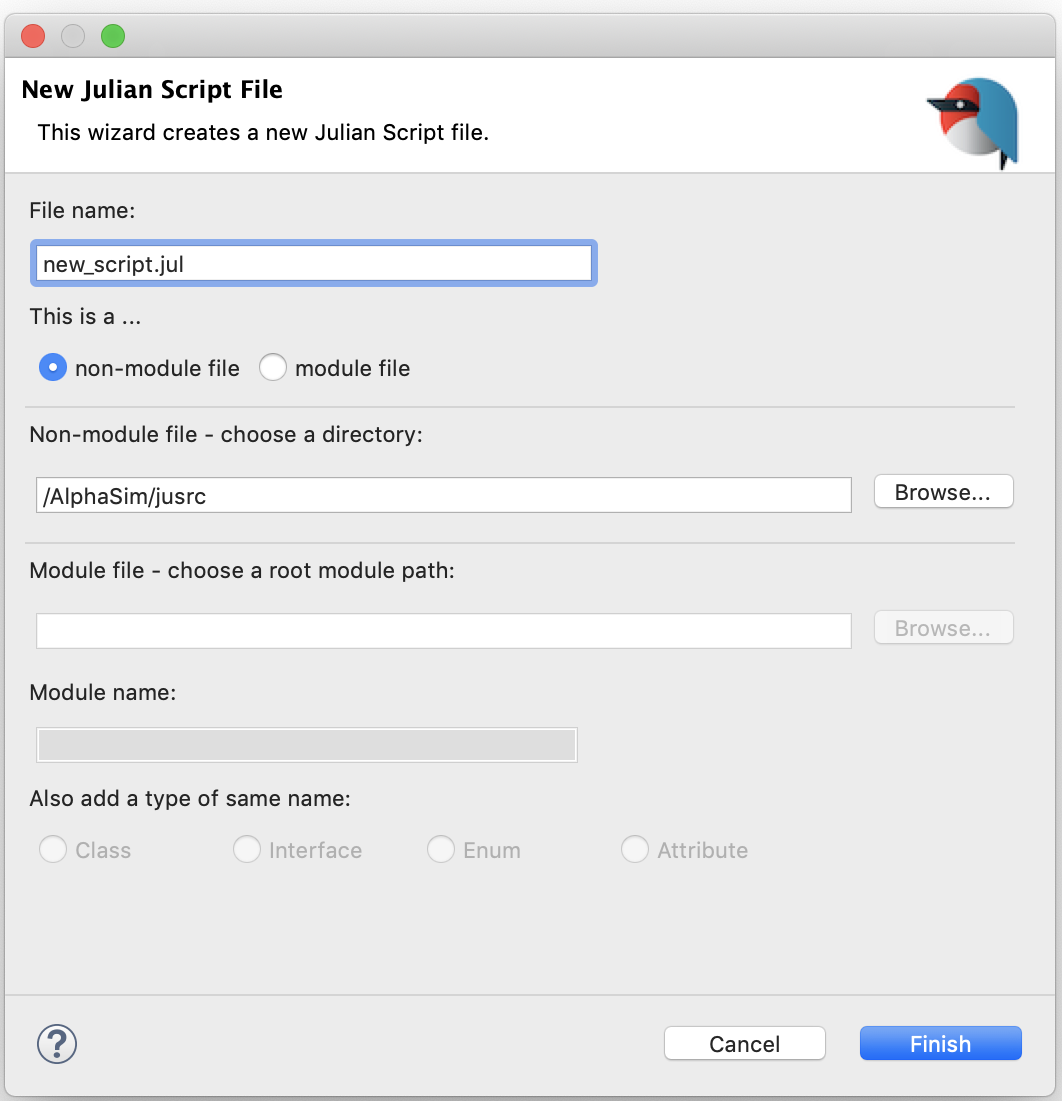
Let's just keep it as default and create the file right away, which now will be open from an editor tab.
Edit script files
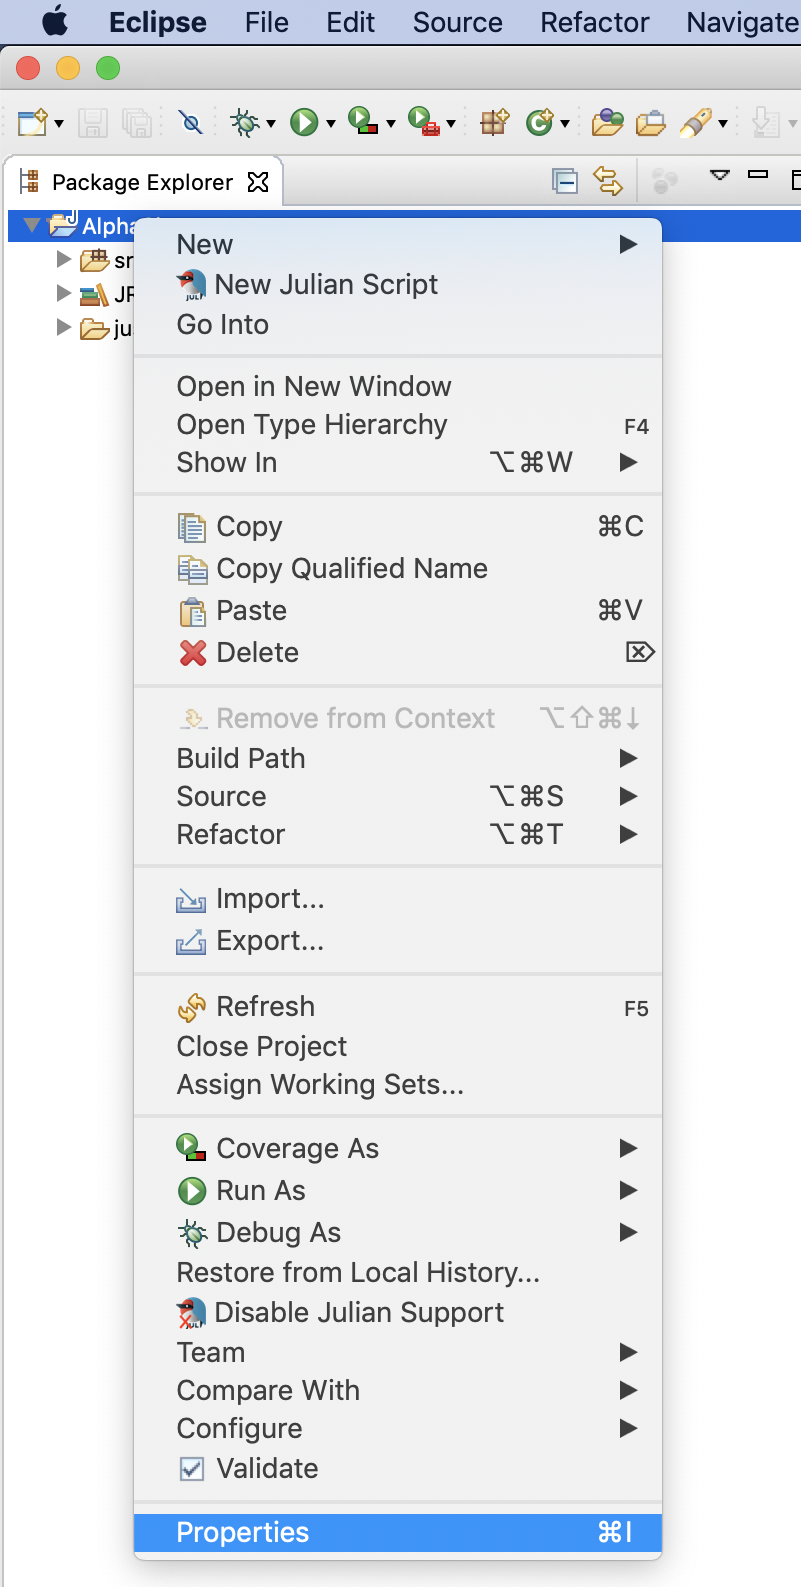
When saving the source file, it will trigger the parsing to validate the syntax correctness. Since Julian is an interpreted language, you wouldn't expect more than that - the semantic checks are not offered at this time. However, you may enable advanced parsing to get a little deeper insight into the code's validity. To change build level, right click on the project and select Properties:
Now click on the category Julian from the left panel, and you will see a few build levels to choose from.
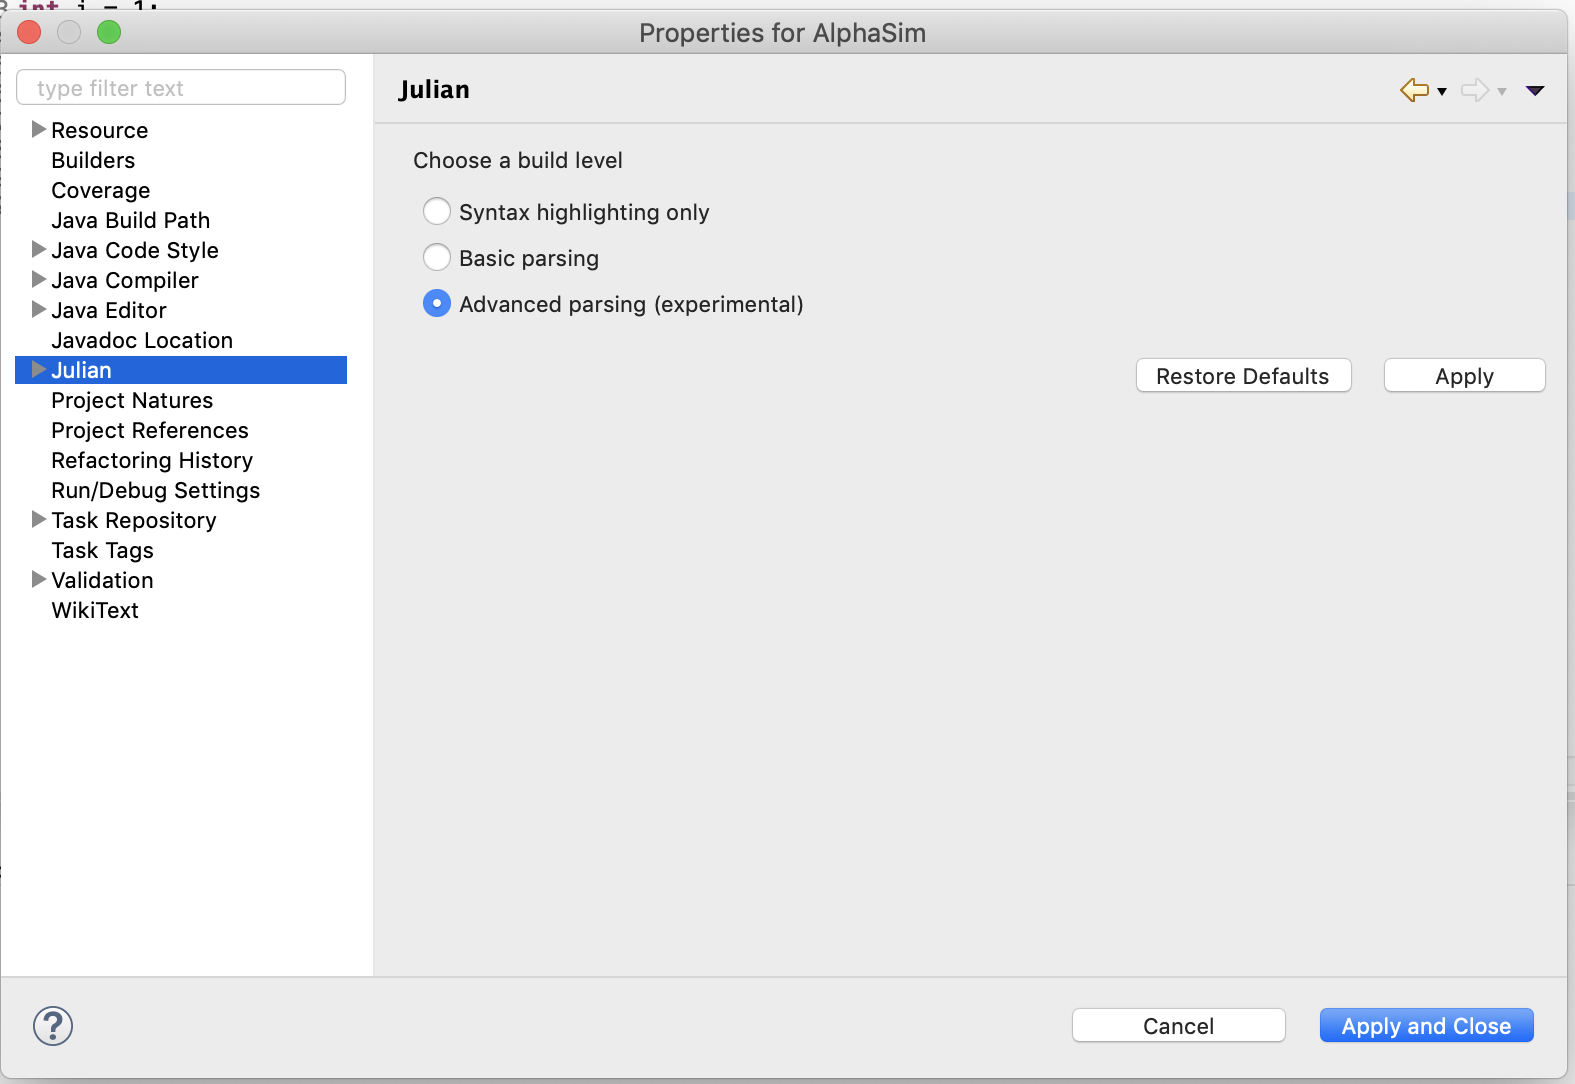
Advanced parsing also allows a few extra editor features, such as code folding.
Revealing more semantic errors at "compile-time" is a major challenge for an interpreted language. Expect this to get better, albeit not in a very near future.
Run Julian from IDE
From time to time you may want to run your script to verify it. JuDE allows you to launch your script from multiple places. One of them is right click on your script from the explorer and choose Run As → Run Julian Script:
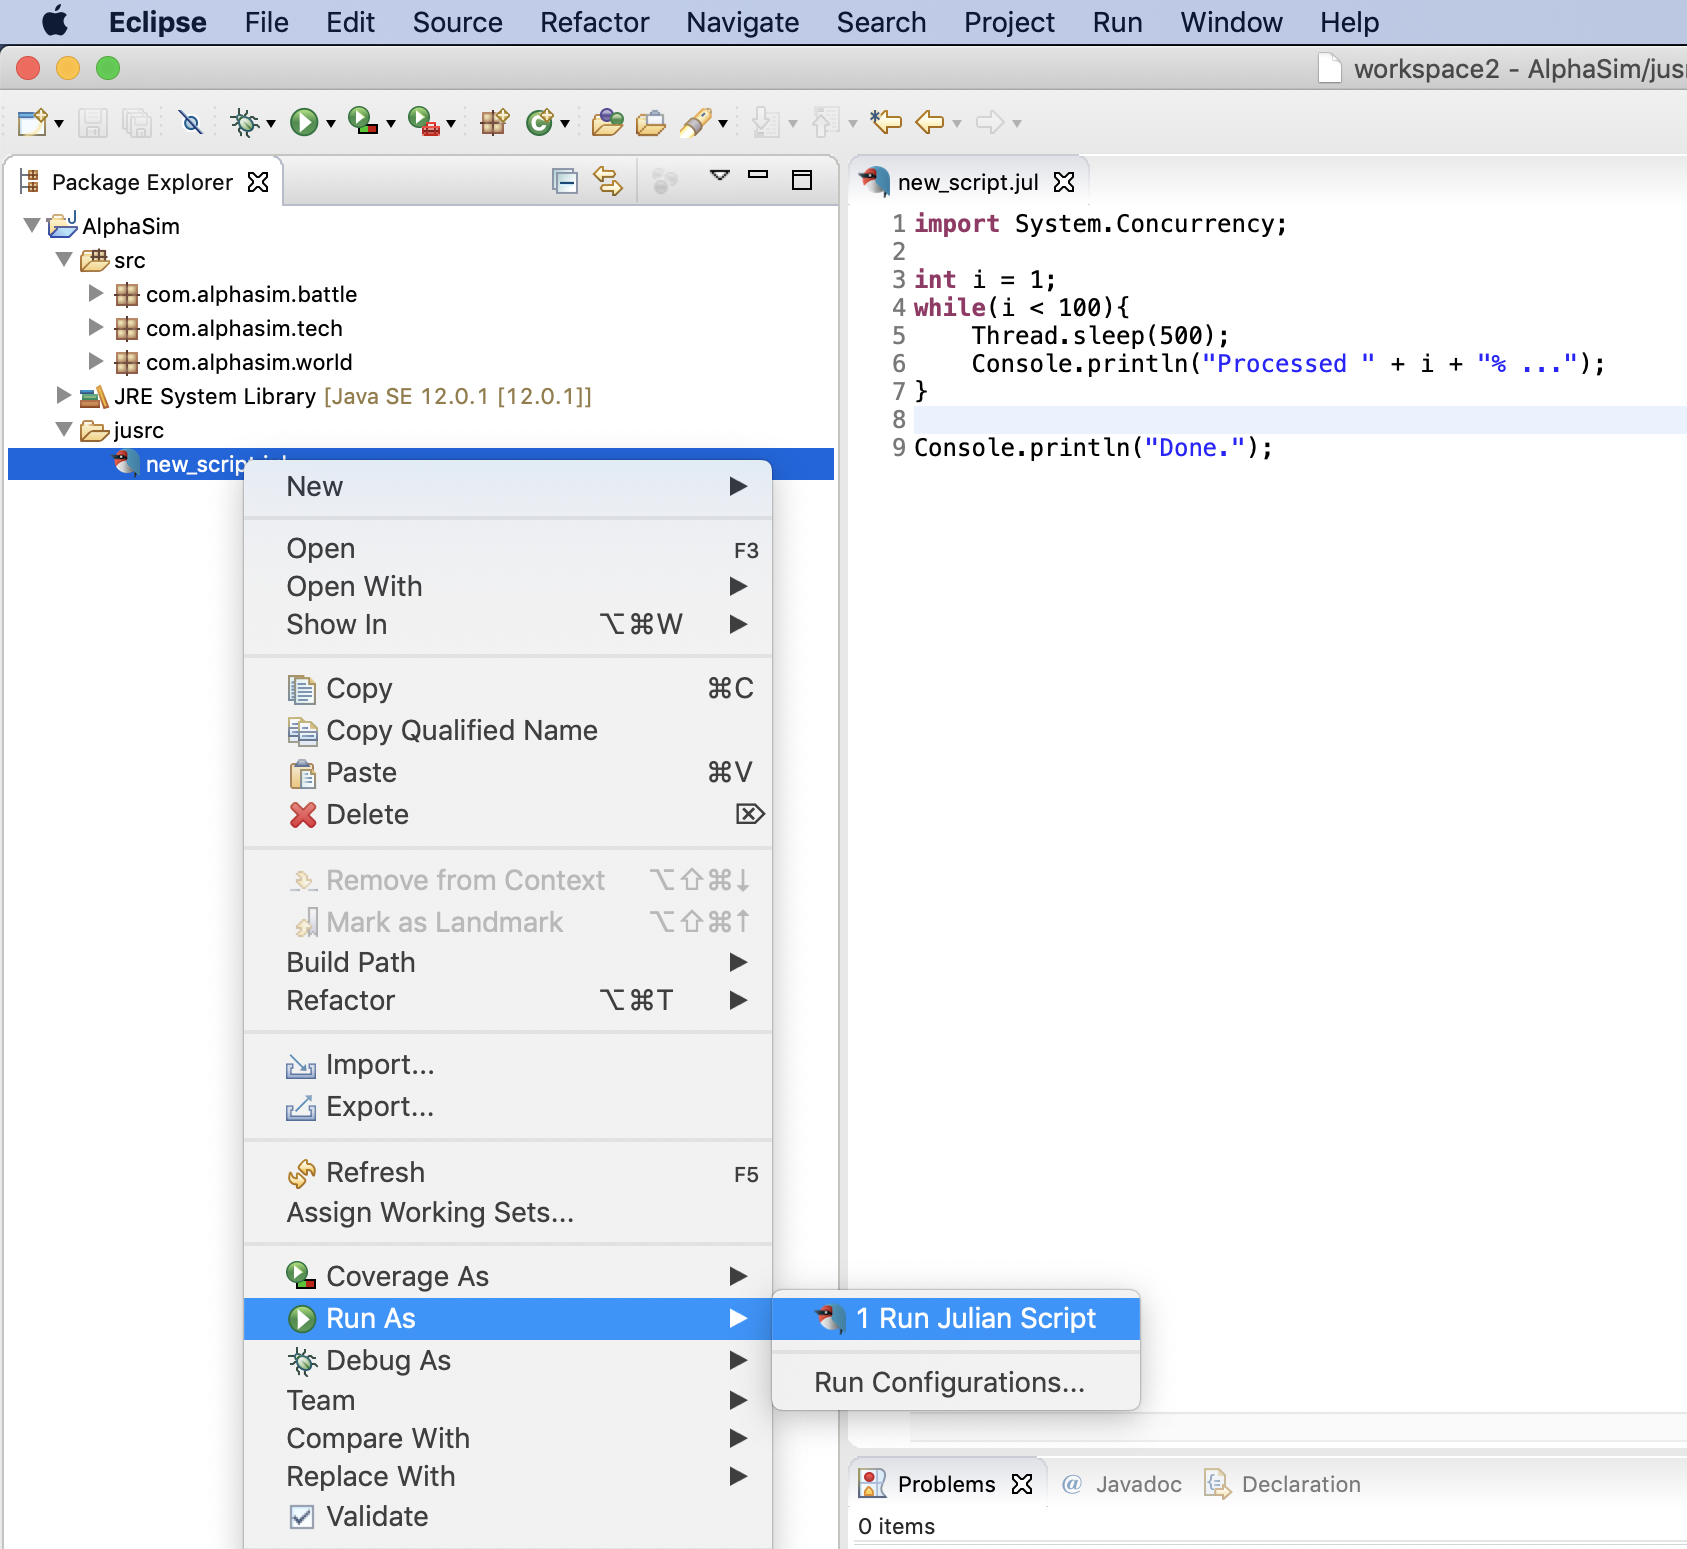
Alternatively, you can also, and you may likely prefer to, just launch it from the editor itself by right clicking on the source code and choose, in a similar fashion, Run As → Run Julian Script.
The problem with these quick buttons is that you cannot customize the environment in which the script is run. There are two important external factors missing here: the arguments, and the module paths. To configure any of these, you must start the script from Run Configuration:
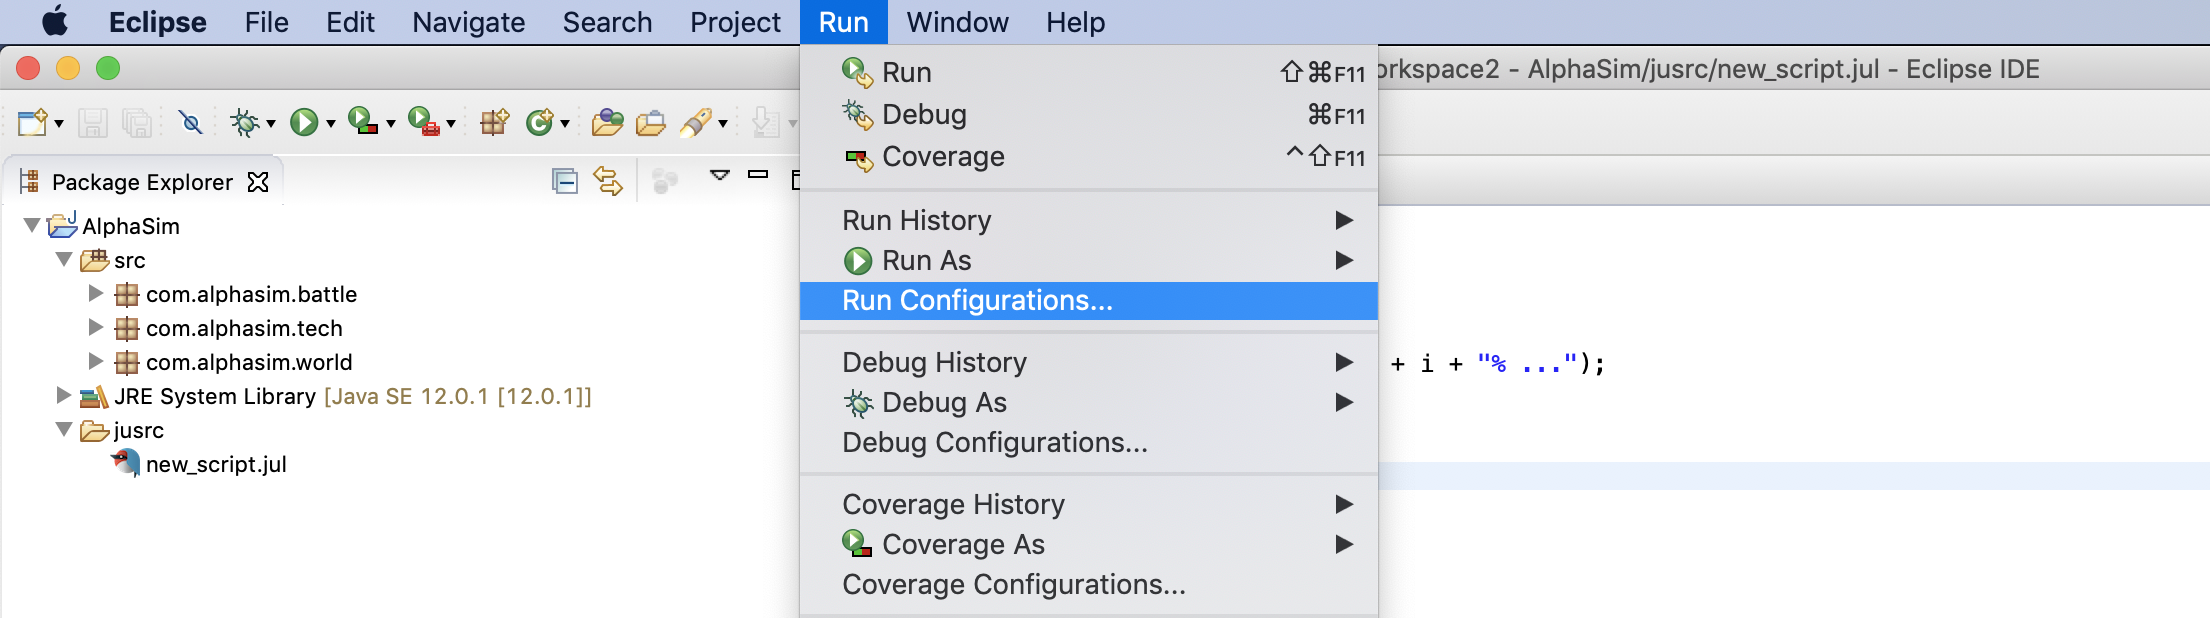
Create a new configuration under category "Julian". Now, under the few tabs to the right of the window, you may configure arguments and module paths.

In fact, module paths can also be configured from Properties. When you run a script, it will use the combined modules paths from both project properties and the launch configuration. This means running from the launch shortcuts (Run As) will also take module paths configured with project properties.
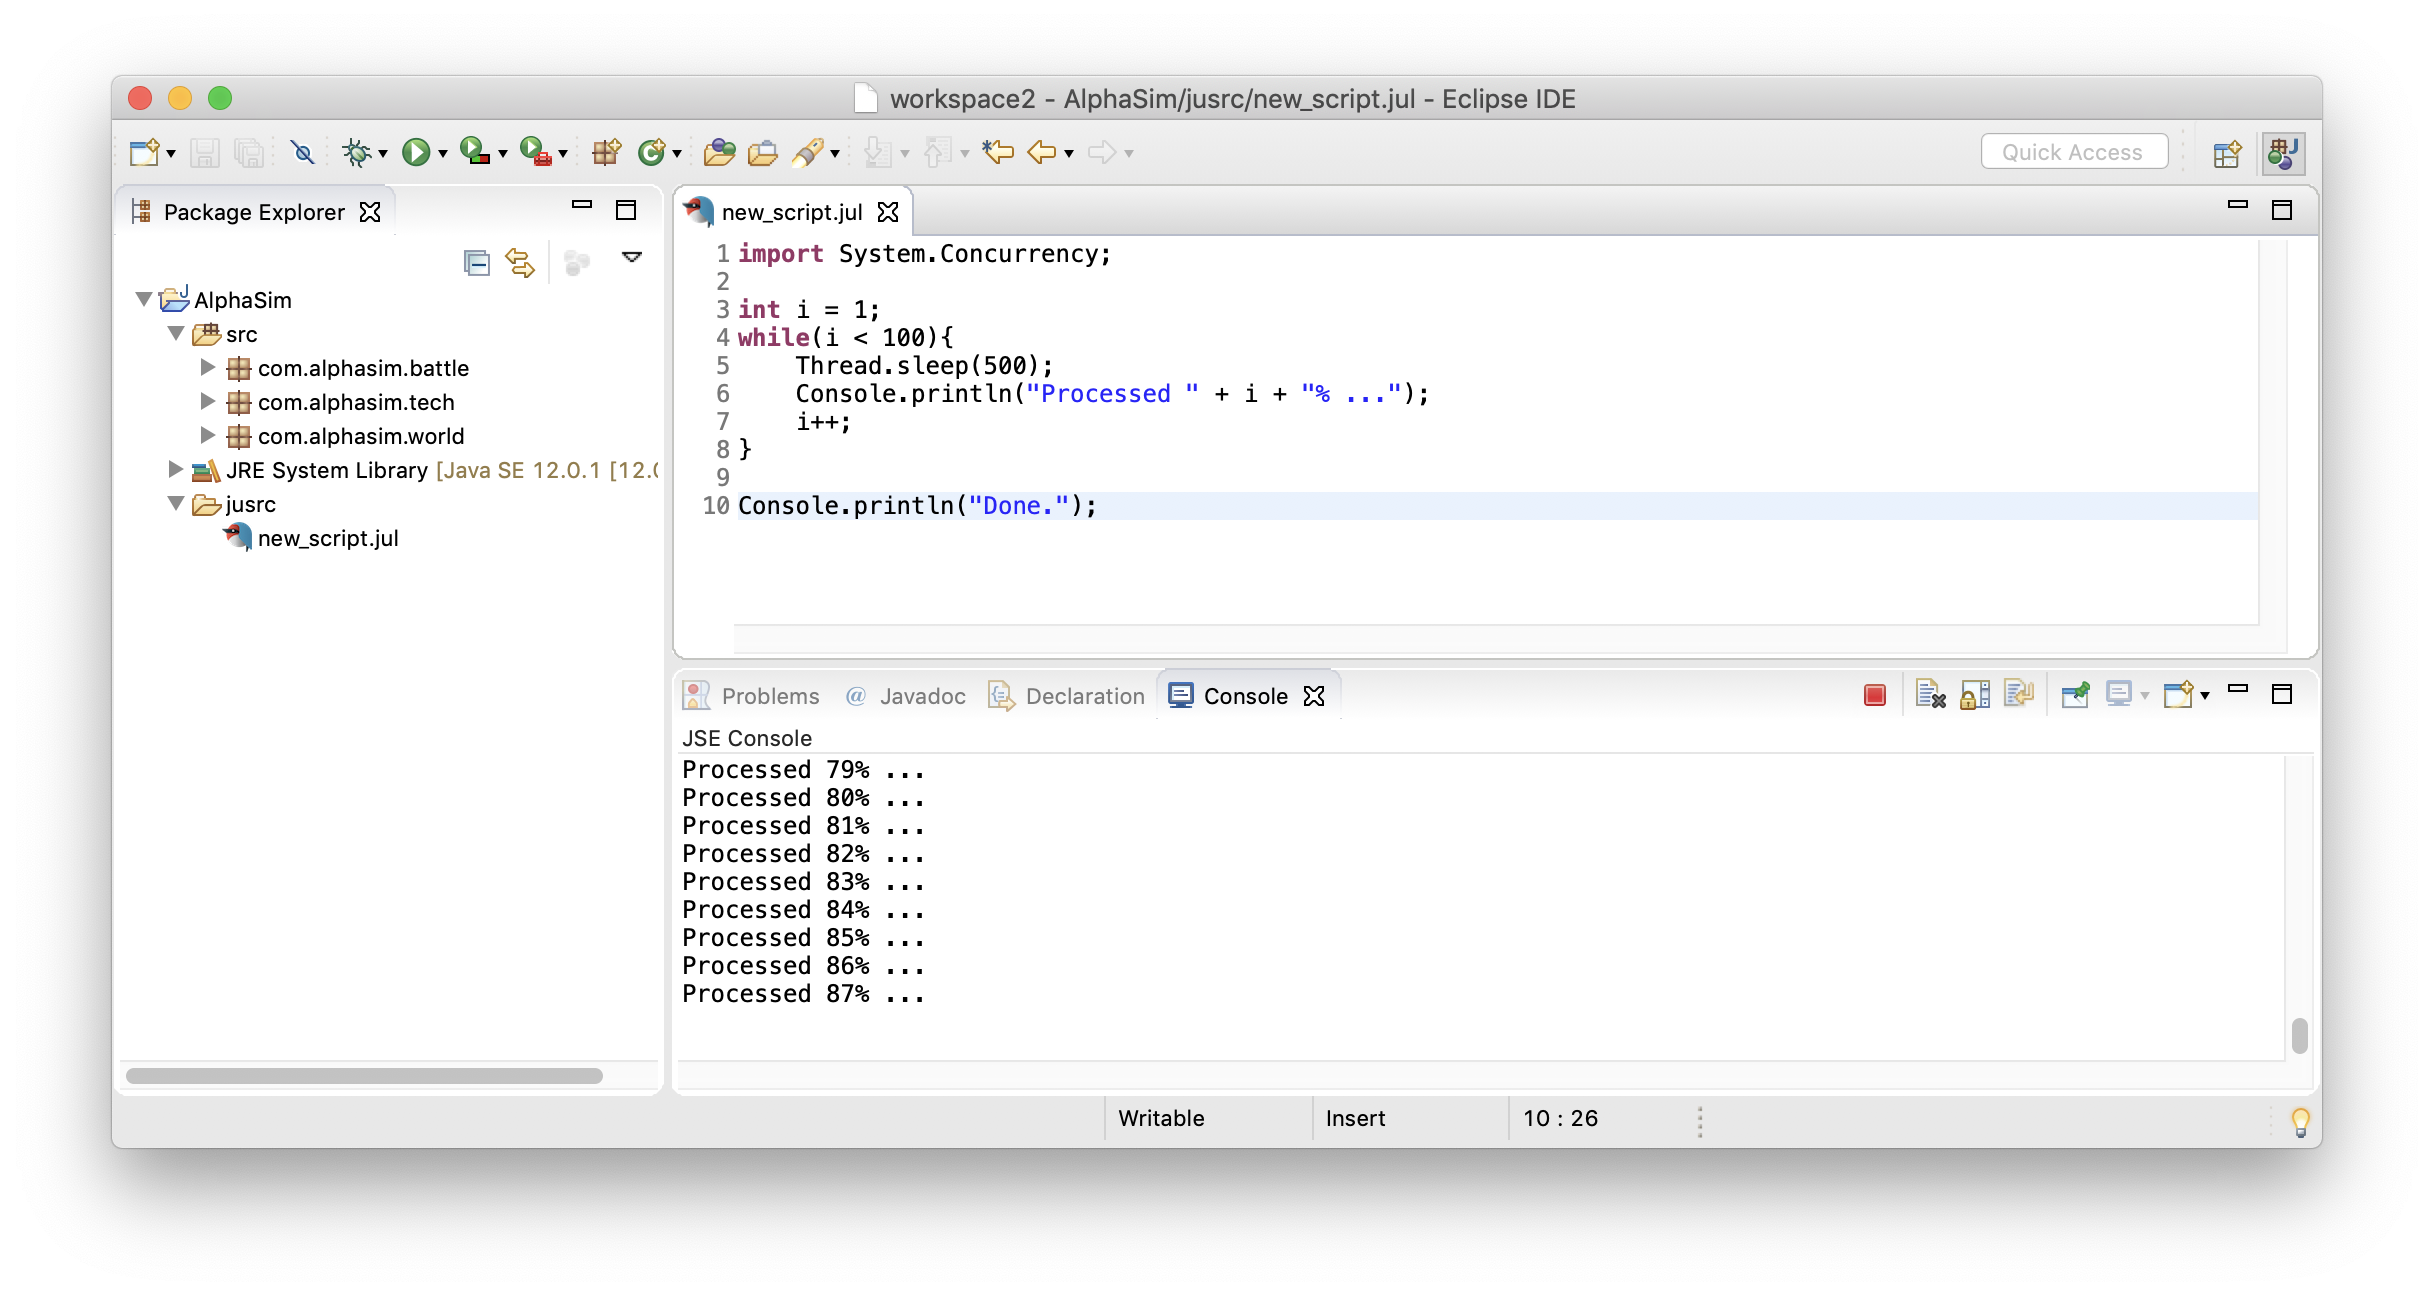
Once kicked off, you may ask it to abort by clicking on the red button which screams of STOP: